


i just took on a task of making some cheap moonlights to replace teh ones in my fixture that went belly up (again). i believe that the led's being inside of my fixture between the bulbs is part of the reason for the constant blow outs, but anyway.
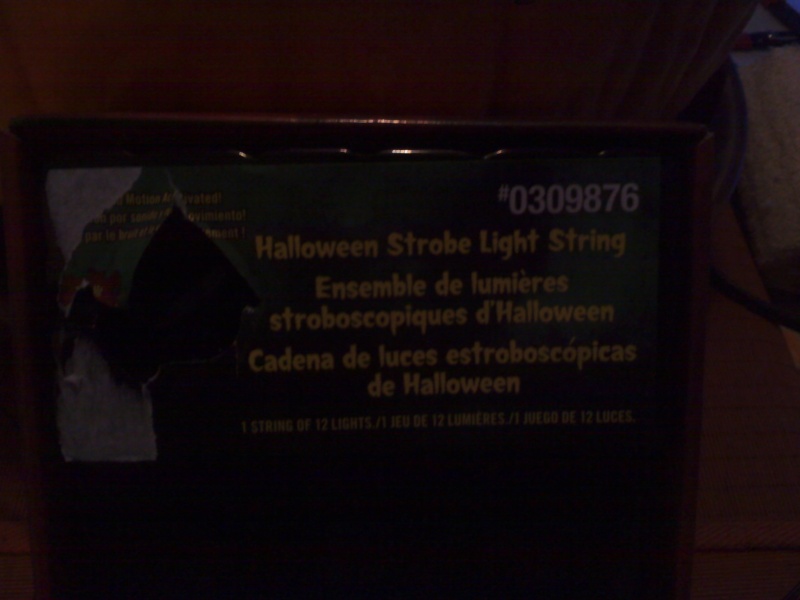
i went to lowes and bought a set of halloween decor that was 12 super bright led's attached to a box that made the led's flash and the box played music (whoop de doo).
i started by disassembling the little black box and marking teh positive and negative led wires (it is important to do this otherwise the led's may not work or may blow due to reversing the polarity (i have had led's blow in this manner before).
the "strobe light kit" is 9.98 + tax so not that expensive considering the led's alone at radio shack would cost more than this and these have nifty little chrome plated plastic reflectors on each bulb.
you will also need a 4.5 volt power supply (i had one lying around from a box of misc garage sale stuff i picked up so cost could have been free, or .50 for all i know )
you will also need a soldering iron, solder, and heat shrink tubing. cost on these items varies for example my iron cost me 99.99 and the solder and heat shrink tubing was like 5 to 6.00.
now on to the good stuff
once you have the box apart and the led wires marked you need to know which is the positive and which is the negative on the power supply of your choice, strip back the plastic from the wire of the positive wire on the psu and the led's. slip a peice of heat shrink tube over both wires (you will see why a little later on) slip a peice of small diameter heat shrink tubing over one of the positive wires and twist and solder the wires together, once this is done slide the heat shrink tubing over the wire you soldered and heat shrink it.
continue procedure for other wire.
once both wires are soldered cooled and heat shrinked, slide the larger piece of heat shrink tubing over those 2 wires and shrink it (makes for a little neater appearance).
if all went as it should you should now have 12 led's with individual reflectors read to put on your tank for moon lights, you may NOT need to use all 12 led's at which case you will have some extras in case some burn out . i will be posting pics later, right now i am trying to figure out how to mount these as hot glue to my fixture seems uber useless.
just taped some to my fixture to tes and discovered that they are so bright 4 of them will probably be plenty for a moonlight effect, i taped 3 of them to 1 side of my 4 foot long 24 inch deep 909 gallon tank and it had a nice shimmer effect but was really bright. i am going to play with it a bit to try it out to get a nice look before mounting them fully but i will have pics for you guys as soon as possible.
strobe light kit


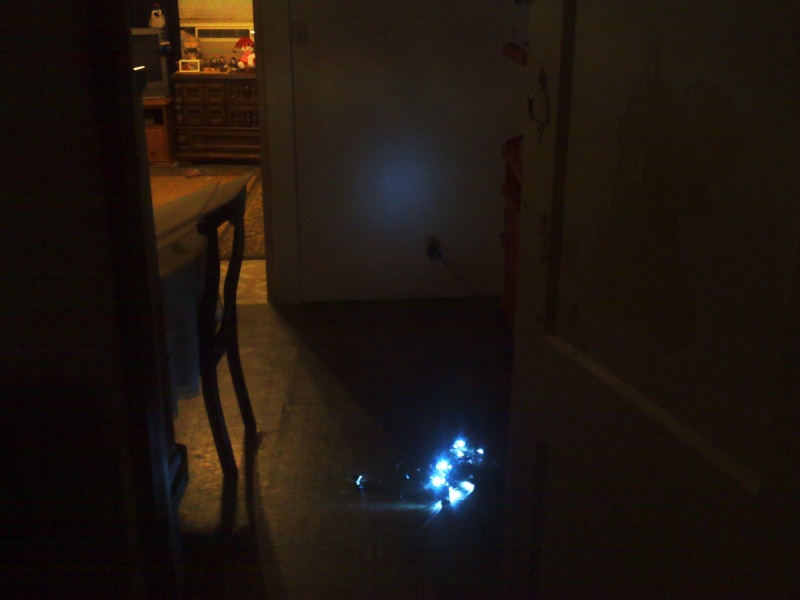

it actually looks much better than the pic i can get with my cell phone, 4 was plenty as anymore would have been a little to bright and i am going for a moonlit look not a daylight look, next i just need to put a splitter on the timer for my fuge lights so these come on with it
i went to lowes and bought a set of halloween decor that was 12 super bright led's attached to a box that made the led's flash and the box played music (whoop de doo).
i started by disassembling the little black box and marking teh positive and negative led wires (it is important to do this otherwise the led's may not work or may blow due to reversing the polarity (i have had led's blow in this manner before).
the "strobe light kit" is 9.98 + tax so not that expensive considering the led's alone at radio shack would cost more than this and these have nifty little chrome plated plastic reflectors on each bulb.
you will also need a 4.5 volt power supply (i had one lying around from a box of misc garage sale stuff i picked up so cost could have been free, or .50 for all i know )
you will also need a soldering iron, solder, and heat shrink tubing. cost on these items varies for example my iron cost me 99.99 and the solder and heat shrink tubing was like 5 to 6.00.
now on to the good stuff
once you have the box apart and the led wires marked you need to know which is the positive and which is the negative on the power supply of your choice, strip back the plastic from the wire of the positive wire on the psu and the led's. slip a peice of heat shrink tube over both wires (you will see why a little later on) slip a peice of small diameter heat shrink tubing over one of the positive wires and twist and solder the wires together, once this is done slide the heat shrink tubing over the wire you soldered and heat shrink it.
continue procedure for other wire.
once both wires are soldered cooled and heat shrinked, slide the larger piece of heat shrink tubing over those 2 wires and shrink it (makes for a little neater appearance).
if all went as it should you should now have 12 led's with individual reflectors read to put on your tank for moon lights, you may NOT need to use all 12 led's at which case you will have some extras in case some burn out . i will be posting pics later, right now i am trying to figure out how to mount these as hot glue to my fixture seems uber useless.
just taped some to my fixture to tes and discovered that they are so bright 4 of them will probably be plenty for a moonlight effect, i taped 3 of them to 1 side of my 4 foot long 24 inch deep 909 gallon tank and it had a nice shimmer effect but was really bright. i am going to play with it a bit to try it out to get a nice look before mounting them fully but i will have pics for you guys as soon as possible.
strobe light kit
it actually looks much better than the pic i can get with my cell phone, 4 was plenty as anymore would have been a little to bright and i am going for a moonlit look not a daylight look, next i just need to put a splitter on the timer for my fuge lights so these come on with it
Last edited by lordraptor1 on Thu Feb 18, 2010 3:02 am; edited 1 time in total


